Sun salutation is one of the most demanding yoga sequences everyone wants to practice because of many reasons. Especially beginners or people who have less time, often practice it as a stand-alone full-body workout that takes care of the physical as well as mental health.
But when it comes to performing sun salutation correctly, there come many queries in a beginner’s mind;
- What’s the best time to do Surya namaskar
- How many rounds of sun salutation should I do
- What rules and regulations I should keep in mind while doing sun salutation poses
- In which physical conditions I should avoid sun salutation practice
- Which type of Surya Namaskar is best for me; fast pace, medium pace, or slow pace
- What common mistakes I often do and how to avoid them
- Are there any easy ways or variations of Surya namaskar for me
- And after completing sun salutation, what should be my follow up practices?
Apart from this, if beyond the practical part you want to know the importance and philosophical origin behind this ancient practice, then this guide is for you.
Keeping the motivation and following this practice guide, you, as a beginner can master the practice of Surya Namaskar. For simplification purpose, this guide is divided into three parts;
- Things you need to know before Sun Salutation practice (theoretical + practical)
- Things you need to take care of while doing sun salutation (common mistakes and correction)
- And finally, the follow-up practices of sun salutation
Before Sun Salutation
We always need motivation before doing any activity, whether it’s a physical workout or daily chores of our routine. when we begin a brand new activity, the motivation is not other than the proper knowledge or knowing the importance or prerequisites of that activity.
Before you jump into the practice of sun salutation, you should have a sound understanding of what it’s and why actually we do it. Apart from this, what prerequisites are there before jumping into my first sun salutation practice. And to keep yourself motivated, you should know what health goals you can achieve with daily sun salutation practice.
1. What is sun salutation and Why actually we do it?
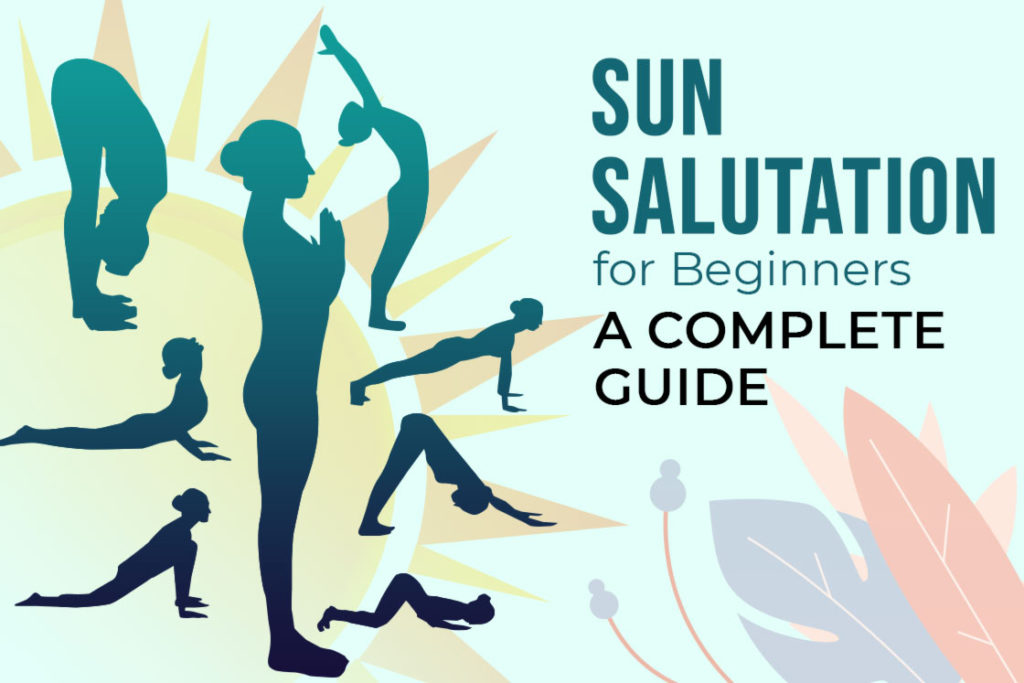
Sun salutation is a traditional sequence of 12 poses practiced in yoga to show gratitude to the Sun. Because Sun is the universal source of energy, it’s yoga’s (yogis) way of paying homage to the Sun.
The 12 Poses of sun salutation are:
- Prayer Pose (Pranamasana)
- Upward Salute (Hastauttanasana)
- Standing Forward Bend (Uttanasana)
- Low Lunge (Ashwa Sanchalanasana)
- Plank pose (Phalakasana)
- Knees-Chest-Chin (Ashtanga Namaskara)
- Cobra (Bhujangasana)
- Downward Facing Dog (Adho mukha svanasana)
- Low Lunge (Ashwa Sanchalanasana)
- Standing Forward Bend (Uttanasana)
- Upward Sslute (Hastauttanasana)
- Prayer Pose (Pranamasana)
Today sun salutation is mostly practiced as a complete body workout exercise because it includes all possible types of poses that yoga has. These poses ensure muscles stretching, flexing, and toning altogether at one time.
2. Health goals that can be achieved by daily sun salutation
The daily sun salutation is an energizing practice in itself that gives you greater strength, stamina, and flexibility. There are many benefits of sun salutation that are backed by scientific studies!
On practicing sun salutation daily, you can lose weight, keep your blood sugar levels in control, get relief from lower back pain and make your muscles flexible. And above all, you will feel concentrated and get grounded in the present moment just after a few rounds of sun salutation.
Since sun salutation builds heat in the body, the sequence is absolutely capable of fat-burning. On average, one round of sun salutation burns around 13.90 calories. A study has shown [efn_note] http://ijsc.net/docs/issue3/effect_of_surya_namaskar.pdf http://ijsc.net/docs/issue3/effect_of_surya_namaskar.pdf [/efn_note], 60 minutes sessions of sun salutation daily can lose 3.5 kg of weight in one month.
3. In what physical conditions it shouldn’t be done?
Bodily strength a healthy person normally has is a very must to perform sun salutation without any restrictions. Therefore sun salutation practice should be avoided in the case of any ailments which bring weakness in the body or an injury in a certain part of the body.
Some contraindications of sun salutations practice are; acute inflammation, high blood pressure, coronary artery diseases, Hernia, Intestinal tuberculosis, Severe back problems, slipped disc, Sciatica, Menstruation, 2nd or 3rd trimester of pregnancy.
4. Best time & place to practice
Traditionally yogis practice sun salutation within the first hour of sunrise, in facing the east – the direction of the sun. At this time, ultraviolet (UV) radiation of the sun is less harmful to your skin than any other time of the day [efn_note] UV Exposure May Be Less Damaging in the Morning, Study Finds https://www.livescience.com/16741-uv-exposure-morning-damaging.html [/efn_note]. Also, it’s so because in the morning time mind naturally happens in its calming state.
However, sun salutation can be practiced in the evening too if one can’t manage time in the morning hours. For beginners, evening time could be a good choice to begin sun salutation practice because their muscles and body joints are more flexible in the evening as compared to the morning. It can avoid the chances of any injury.
Ideally, the best place to practice sun salutation is outdoor under an open sky from where the sun is clearly visible to you. For example, on a terrace or park. However, if you’re planning to do yoga at home, then a clean and well-ventilated room which has an EAST facing window is good place to practice sun salutation.
5. What to eat or whatnot
Ideally, the sun salutation is practiced in the morning after cleaning up the bowels and other morning chores. But if you’re practicing Surya namaskar other times of the day, make sure there is at least of 4 hours gap in between your last meal and the practice. The underlying idea behind this is that we don’t want to direct our energy to the digestion process when we are in the practice.
It’s best practice to not eat a heavy meal or drink water just before and after sun salutation as it may make you feel heavy during practice. Wait for a minimum of 30 minutes to cool down the body after completing the sun salutation rounds, then you should eat. However, if you’re feeling hungry after practice, you can take fruits or juice to rehydrate the body.
6. Warm-ups & other yogic practices
However, sun salutation in itself is a warm-up yoga exercise but sometimes the muscles and joints are stiff (especially in morning hours) therefore some warm-up stretches are recommended before sun salutation.
In some yoga tradition, pranayama is also recommended before surya namaskar. It’s because of two reasons;
- Practicing pranayama opens nostrils well that allows the practitioner to breathe even more smoothly in the vinyasa flow of sun salutation.
- Breath is calm before a vigorous physical exercise like Surya namaskar therefore pranayama is more effective if done before.
Sun salutation tips [while practicing]
Even after following all the prerequisites and conditions perfectly, sometimes we may not get the full benefits of the practice. It’s because of not correctly following the practice, or leaving the track in midway out of lack of patience.
Below are some common tips for sun salutation practice;
1. Pay attention to standing tadasana
Tadasana, however, is a simple position but it’s good practice to pay attention to it in the beginning.
For beginners, the exact position to stand in tadasana should be at a one-foot distance from the front edge of the mat. Make sure to begin and end every round of sun salutation with this point only. It will help you keep maintain body alignment throughout the complete session.
2. Start slowly & gradually build the pace
- Begin with initial 2 sets (i.e. 4 rounds) of sun salutation at a slow pace. Here, stay in each of 12 sun salutation poses for 8 to 9 seconds. This sun salutation pace is best for beginners to get good stretching and toning of muscles. It leaves meditative effects and gives spiritual benefits of Surya namaskar.
- After initial rounds, switch to medium pace sun salutation for the next 3 sets (i.e. 6 rounds). Here, each pose is held for 3 to 4 seconds. it provides benefits similar to an aerobic workout.
- Surya Namaskar at a fast pace serves as a cardiac workout and helps burn extra fat from the body. It is performed holding each pose for 1 to 2 seconds. Faster rounds of Surya Namaskar are practiced as a warm-up exercise.
4. Connect your breath with movements
Breath is the master key to unlock the treasure of sun salutation practice. Always try to synchronize your breath with the movements i.e. breath should go like “inhale to exhale” or “exhale to inhale” when you jump from one pose to another. it’s called vinyasa flow.
Remember this thumb role of “inhale to exhale” or “exhale to inhale” in this way;
- When you jump into such poses in which your gaze shifts upward or extension happen in the body – there would inhalation. For example, in upward salute pose, cobra pose, etc.
- In contrast to above, poses where your gaze shifts downward or body contracts – there would be exhalation. For example, in downward dog, standing forward bend pose, etc.
However, poses of sun salutation is already designed in such manner that naturally ‘inhalation’ and ‘exhalation’ will happen alternatively.
6. Meditate on a specific chakra in each pose
Each pose of the sun salutation sequence gives stimulus to a specific chakra. In this way, focusing on that specific chakra in each pose can manifest the energy of that chakra.
- Prayer Pose – Heart chakra
- Upward Salute – Throat chakra
- Standing Forward Bend – Root chakra
- Low Lunge – Third eye chakra
- Plank – Solar plexus chakra
- Knees-Chest-Chin Pose – Sacral chakra
- Cobra pose – Sahasrara chakra
- Downward Facing Dog pose
- Low Lunge
- Standing Forward Bend
- Upward Salute
- Prayer Pose
5. Avoid overstraining
One of the common mistakes beginners usually do is that they try to perfectly fit into the poses irrespective of their body limitations. One can keep the injuries at the bay by adopting modified version of poses or by opting other sun salutation variations in the beginning.
Many injuries can be avoided in sun salutation by choosing a modified pose instead of overstraining in the base pose. For example, in the upward salute pose (2nd pose of sequence) deep stretch without any mobility in the lumbar spine can hurt the lower back. Therefore, stretching hands up in prayer pose is sufficient for beginners until they are performing sun salutation under the guidance of someone expert.
However, there are many other variations of Surya namaskar for beginners like half sun salutation, chair sun salutation that can be done without any restrictions.
7. Loudly count out the rounds
One common problem beginners face while doing many rounds of sun salutation, especially in 108 sun salutations, is that keeping count of rounds. And another is, in which round which leg need to bring forward first and which leg to bring back (in lunge pose).
For this, one could loudly count each step of sun salutation. Remember in the odd counts, the left leg will take over in right and in even counts, the right leg will take over the left. Otherwise, for counting rounds, you can set a timer too that will count for you.
After Sun Salutation Practice

In yoga, often end practices play an important role to manifest the actual effects of poses. And most of the time people don’t focus on these practices because of ignorance and lack of patience.
After completing the desired number of sun salutation rounds, it should be followed with proper relaxation. Only after relaxation, other yoga poses or pranayama should be followed.
Relaxation in Shavasana after sun salutation should be 20 to 25% time of your entire session. For example, if your sun salutation session is of 1 hour, then should be of 15 minutes at least.
How many rounds of Surya Namaskar should be done?
To ensure the body is toned on both sides, Surya Namaskar is performed in SETS having two rounds in each. Keeping this in mind, practicing 12 rounds of Surya Namaskar daily is set as an ideal number.
However, as a beginner, practicing two to four rounds sounds good, gradually going up to as many as you can comfortably do (even up to 108 if you can!).
Sun Salutation Steps for Beginners
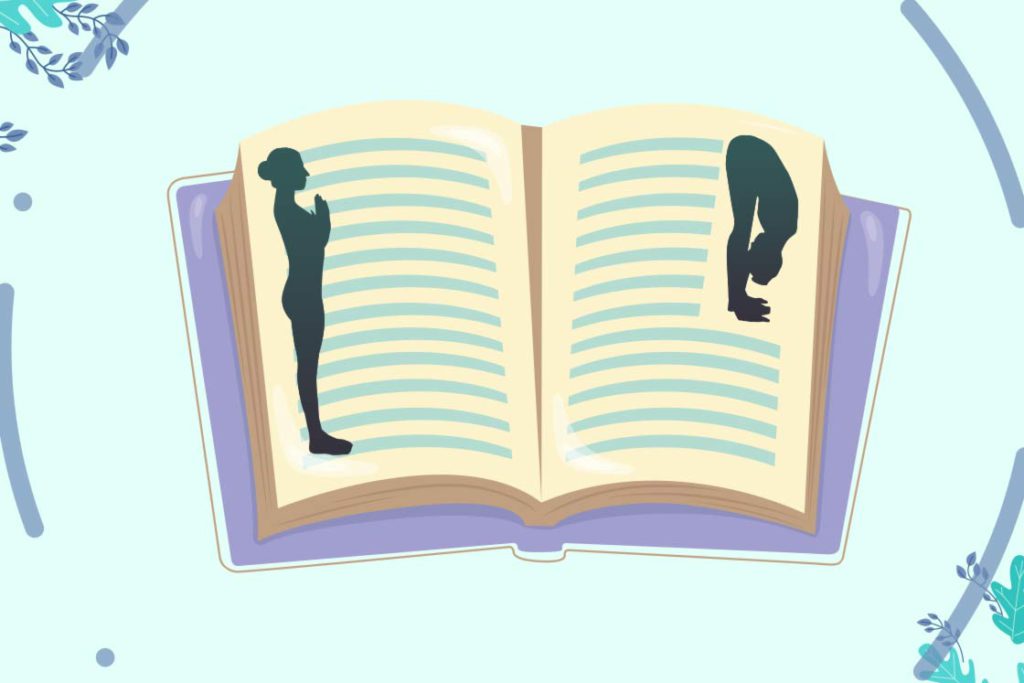
Begin sun salutation by standing at the front edge of your mat keeping the feet together in mountain pose.
- Join your hands in front of the chest in prayer pose.
- Inhale, raising the arms, arching the back and neck to come into upward salute pose. Keep in mind that in case of any spinal issue keep the neck straight and arch back only with the help of your arms.
- Then exhaling, bend forward at the hips to reach the floor with your hands attaining the standing forward bend pose. As a beginner, you might be not flexible enough, so you can bend your knees but ensure to align the fingers with the toes on the floor.
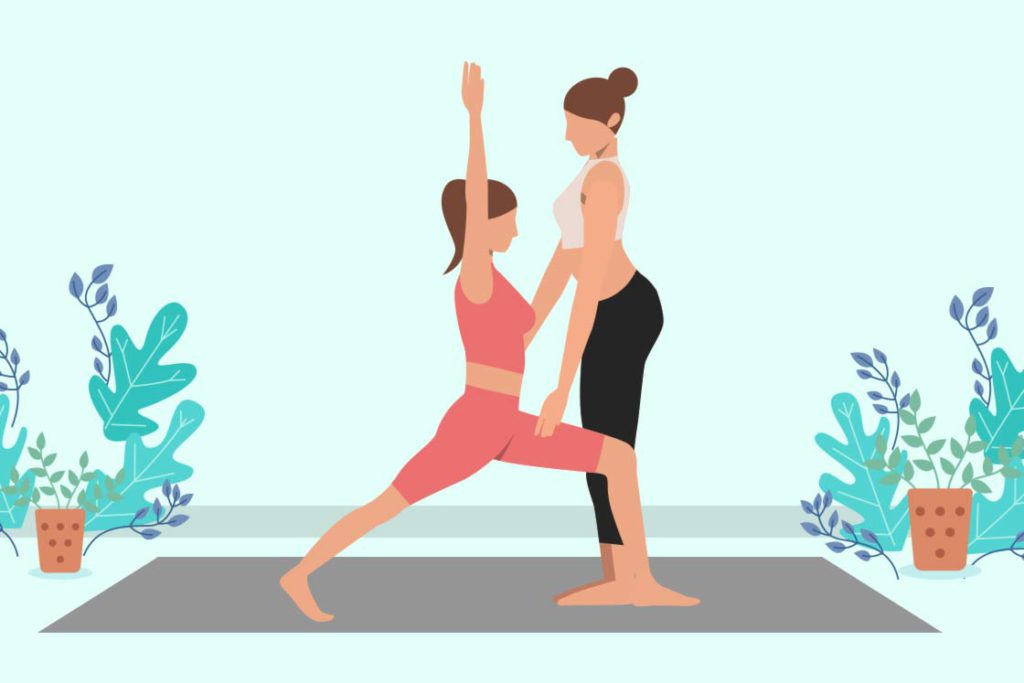
- Inhale to come into the lunge pose by stepping your right foot back. Here, the tip is to keep the left knee perpendicular to the left big toe. Do not outstretch the knee that most beginners tend to do.
- Then, holding the breath, bring the left leg back beside the right to attain the plank pose. Here, spread your fingers wide on the floor to reduce the tension on your arms and breasts. Also, keep the core strong by aligning the shoulders and hips on the same plane.
- Exhale dropping the knees, chest, and chin to the floor one-by-one while toes are curled in and abdomen is lifted. This is Eight limbed pose. If balancing the body in this pose is difficult, then you can also lower the abdomen to the floor.
- Then inhale to assume the cobra pose, pointing the toes out, lifting the chest, and arching the lower back. Keep the elbows slightly bent and those who have lower back issues refrain from the arch.
- Exhale, lifting the hips and lowering the head between the arms to come into downward-facing dog, keeping the palms and heels on the floor. Do not bother if you are not flexible enough to lower the heels, you can practice it on your toes.
- Inhale to bring the left foot in front between the hands to again come into lunge pose. Beginners are advised to drop the right knee to the floor for placing the left foot in front.
- Exhale bringing the right leg beside the left in the standing forward bend pose.
- Inhale raising the arms and torso to arch back into the upward salute pose.
- Exhale bringing the arms in prayer pose and finally lower the arms.
Repeat the same steps one more time to other side of the body completing one set.

Conclusion
Surya Namaskar for beginners can be successful by ensuring regular and committed practice.
Therefore, perform Surya Namaskar with full dedication to experience grace, mindfulness, and peace as it connects the body, mind, and breath. This makes Surya Namaskar a complete workout and a key to ensure sound physical and mental health.
: Steps, Benefits")

: How to Do (Steps), Benefits, and Precautions")

